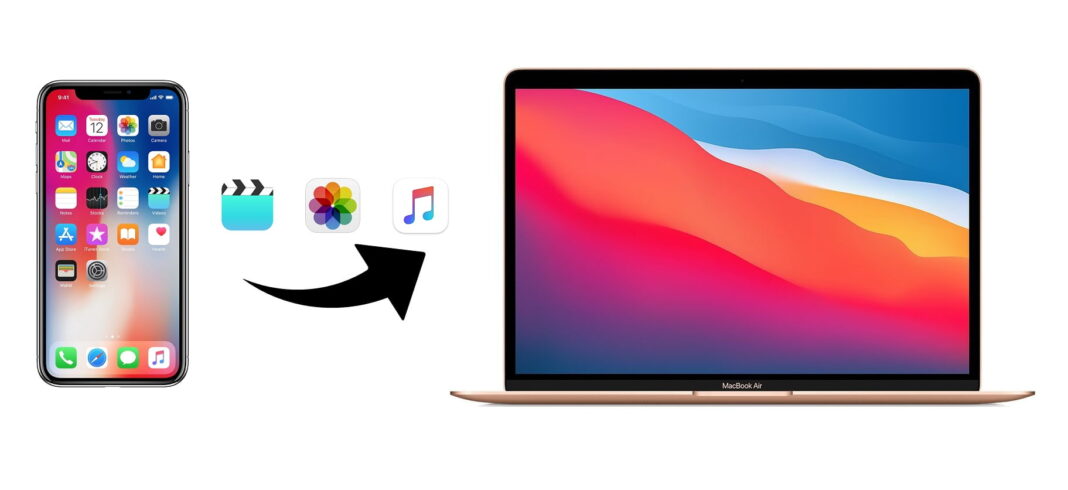
Transferring files from your iPhone to your Mac is a common task that many users encounter. Whether you want to back up your photos, transfer important documents, or simply free up space on your iPhone, there are several methods you can use to accomplish this. In this article, we will explore different ways to transfer files from your iPhone to your Mac easily and efficiently.
Method 1: Using AirDrop
AirDrop is a wireless technology built into Apple devices that allows for easy file sharing between compatible devices. To transfer files from your iPhone to your Mac using AirDrop, follow these steps:
- Make sure both your iPhone and Mac have Wi-Fi and Bluetooth enabled.
- On your iPhone, go to the Control Center by swiping down from the top right corner of the screen (on iPhone X or later) or up from the bottom of the screen (on iPhone 8 or earlier).
- Press and hold the network settings box in the top-left corner of the Control Center.
- Tap on "AirDrop" and select "Contacts Only" or "Everyone," depending on your preference.
- Open the app that contains the file you want to transfer (e.g., Photos app for photos or Files app for documents).
- Select the file you wish to transfer, tap on the "Share" button (usually represented by a square with an arrow pointing up), and then choose your Mac from the list of available devices.
A notification will appear on your Mac asking to accept the incoming file. Once accepted, the file will be transferred from your iPhone to your Mac via AirDrop.
Method 2: Using iCloud
iCloud is Apple's cloud-based storage service that allows seamless synchronization of files across devices. To transfer files from iPhone to Mac using iCloud, follow these steps:
- Ensure that both your iPhone and Mac are signed in to the same Apple ID and connected to Wi-Fi.
- On your iPhone, go to "Settings" > [Your Name] > "iCloud" > "Photos" (or other desired file types) and enable "iCloud Photos" or the relevant feature.
- Your photos or other files will now be uploaded to iCloud automatically.
- On your Mac, open the Finder and click on "Go" in the menu bar, then select "iCloud Drive" from the dropdown menu.
- Locate the file you want to transfer, and simply drag and drop it to your desired location on your Mac.
Method 3: Using iTunes (for older iOS versions)
If you are using an older version of iOS that does not support iCloud or AirDrop, you can still transfer files using iTunes. Follow these steps:
- Connect your iPhone to your Mac using the USB cable.
- Open iTunes on your Mac.
- Click on the iPhone icon in the upper-left corner of the iTunes window.
- In the left sidebar, select "File Sharing."
- Choose the app from which you want to transfer files from the list on the right.
- Select the file(s) you want to transfer and click "Save To."
- Choose a location on your Mac where you want to save the files and click "Save."
Conclusion:
transfer files from iphone to mac is a simple and convenient process, thanks to Apple's integration of technologies like AirDrop and iCloud. Whether you prefer wireless transfers using AirDrop or automatic synchronization with iCloud, you can easily manage and access your files across all your Apple devices. With these methods at your disposal, you can keep your important files safe, create backups, and free up space on your iPhone for a smoother user experience.


