

INTRODUCTION
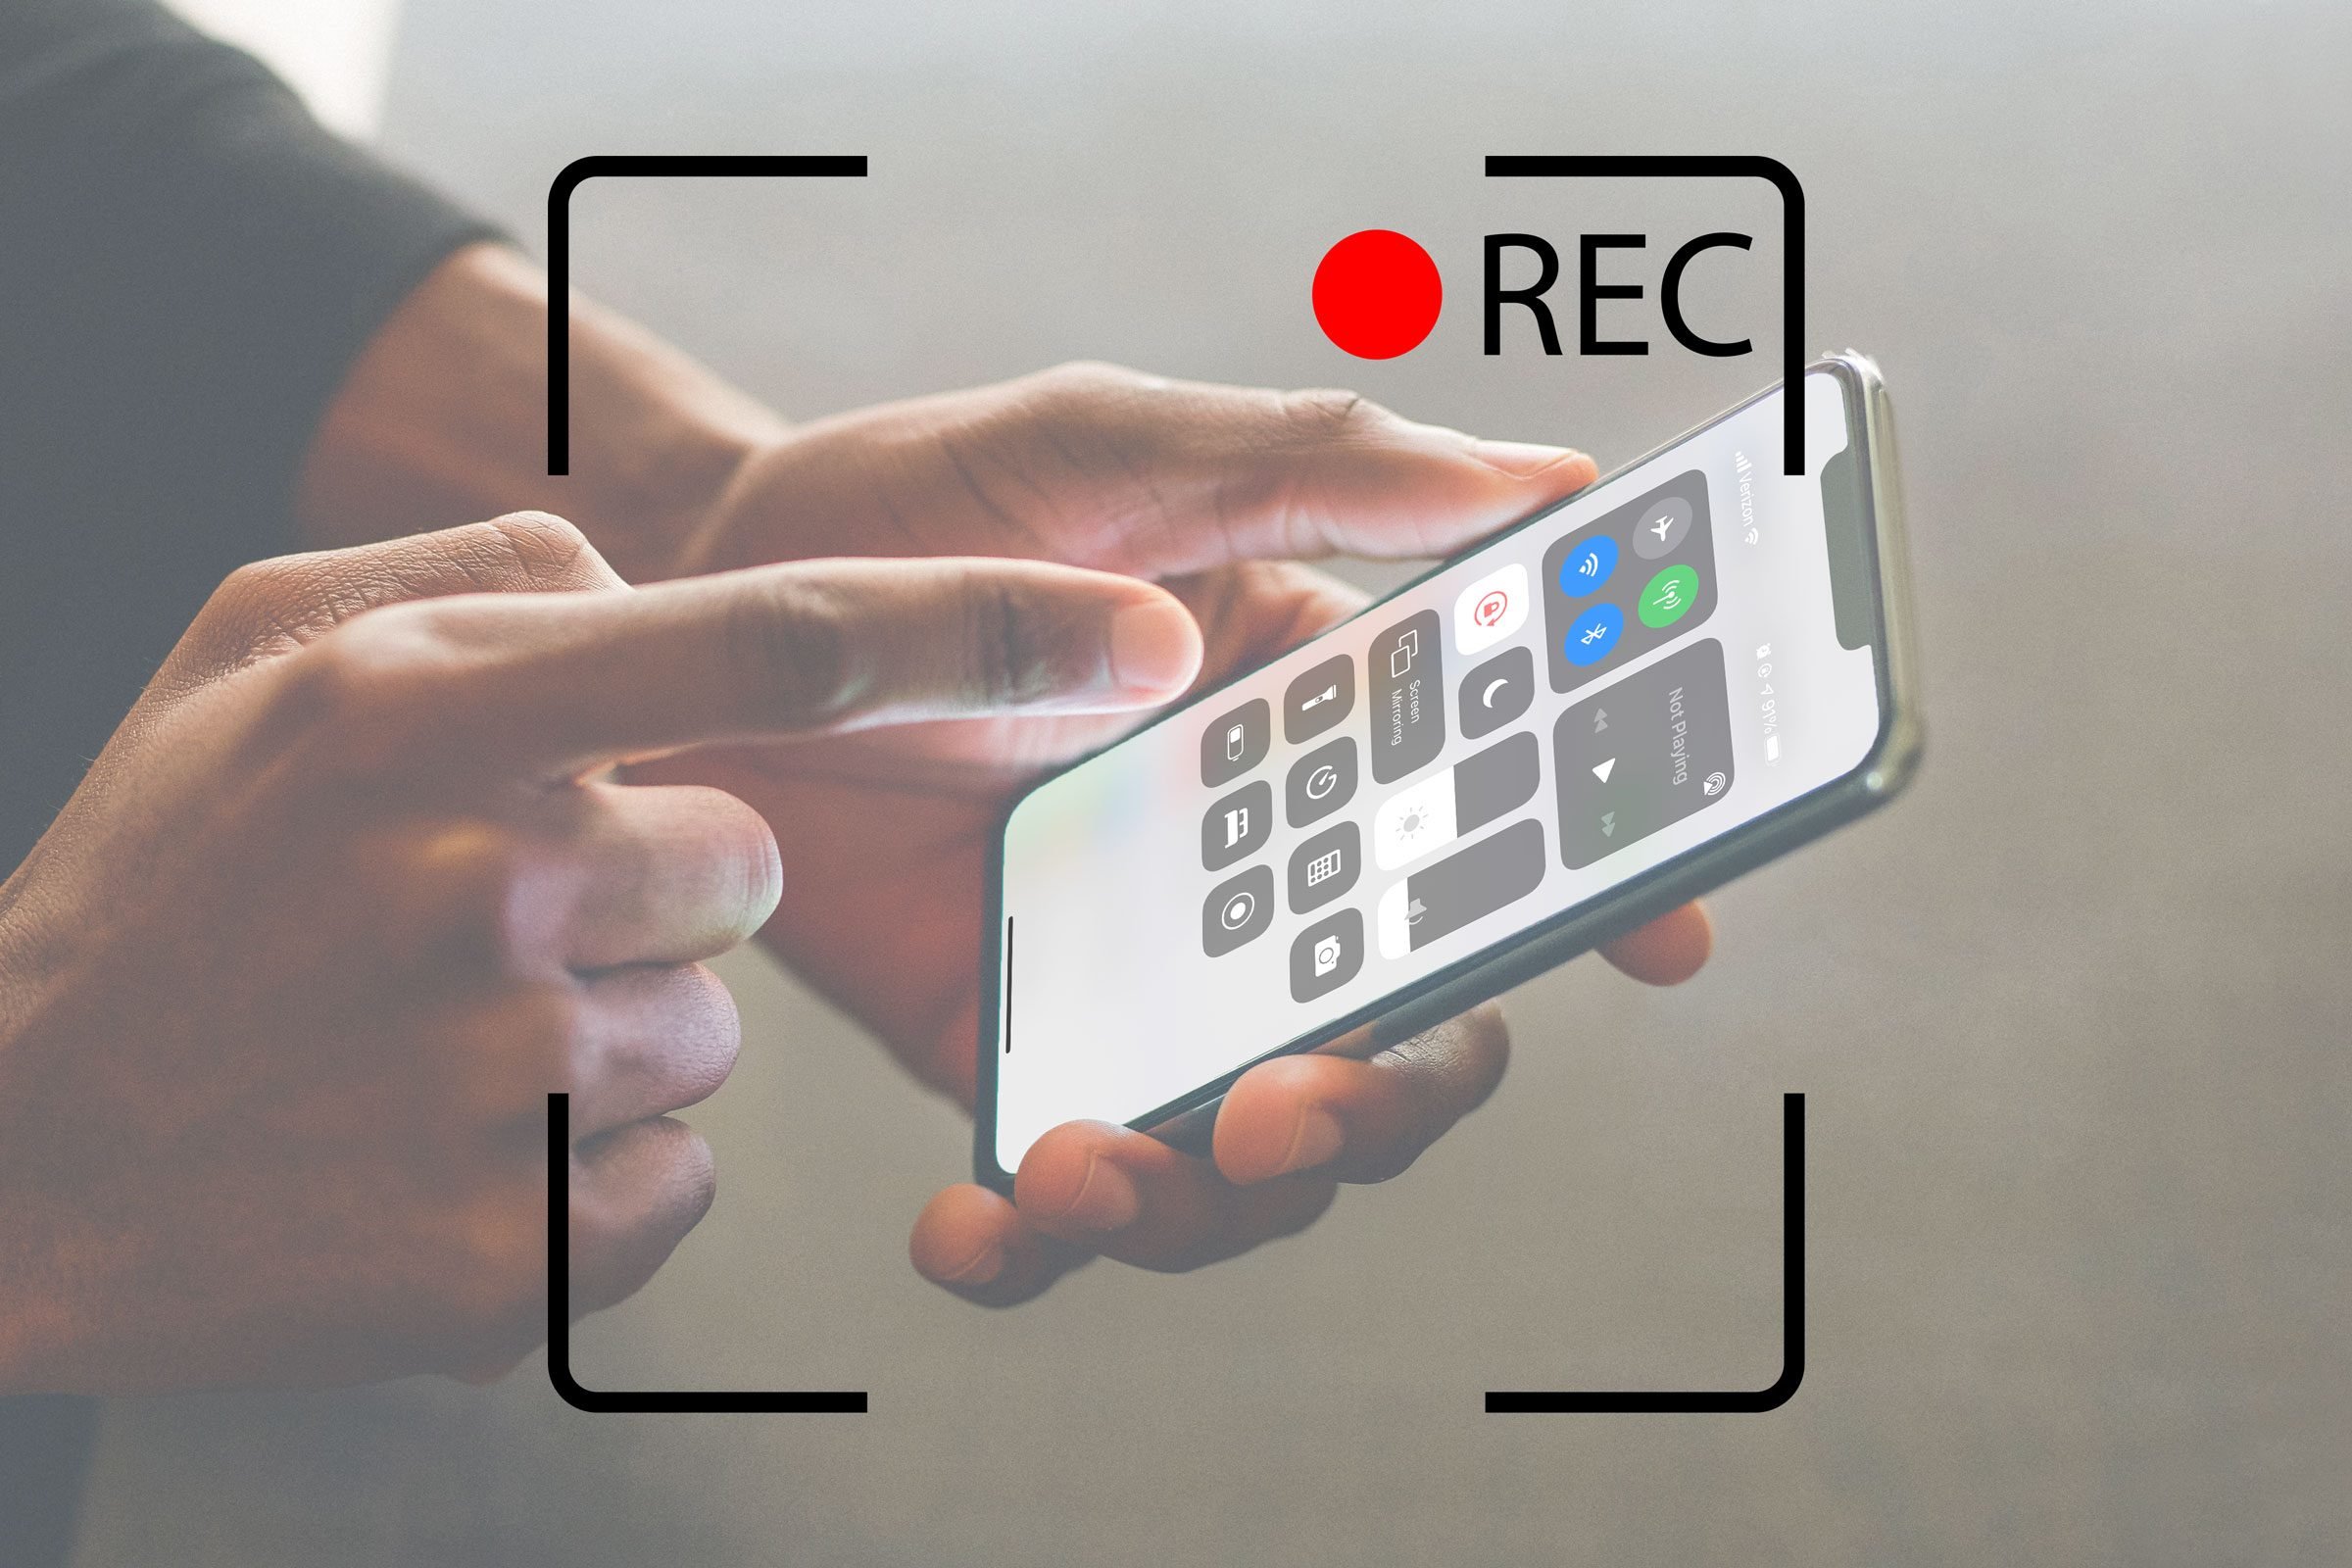
The ability to record your iPhone screen is a useful skill to have. An iPhone screen recording is a simple and quick way to capture what's happening on your display, making it ideal for recording games, making an instructional, or capturing a software bug. And with just a few taps, anyone can capture the action on their iPhone's screen in a matter of seconds. Learn the three simple steps to screen recording on your iPhone by reading this guide.(How To Screen Record On iPhone)
PLEASE NOTE: An iPhone 11 with iOS version 16.3.1 was used to draft this tutorial. The specifics may change slightly depending on the version of iOS you're using, but the fundamentals should be the same.
First, access the Screen Recording option in the iPhone's Settings.
Since iOS 11, there has been a built-in option to record your iPhone's screen. The first step in using it is to add it to the Control Center, however this is a one-time process. To begin, let's open the Settings app and make sure that Screen Recording is enabled on the iPhone.
The Control Center can be accessed by tapping its entry in the Settings menu.

The Control Center's preferences can be divided into two categories: Included controls and More controls. If the Screen Recording feature isn't already present, it must be added to Included controls before it can be used.
Find "Screen Recording" in the list at the very bottom, and then tap the "+" button that appears next to it.
The below-depicted Included controls should automatically incorporate Screen Recording.
The Next Step: Screen Recording on an iPhone
Launch Control Center on your iPhone to activate Screen Recording. If you have an iPhone X or later, you can access it by swiping down from the top right corner of the screen, whereas earlier iPhones will need to swipe up from the bottom of the screen.
SEE ALSO : The Razer Blade 15 2018 H2 Is a Top-Notch Gaming Laptop.
The Screen Recording option can be found in the Settings menu. Its icon is a large dot inside a circle, and it should be located at the bottom of the Control Center after you've installed it there.
In order to get back to the screen you wish to record after tapping the Screen Recording button, a three-second countdown will appear.
You can also enter this screen again to alter the settings before you start recording, or you can just tap and hold the Screen Recording button to access more settings before you begin. To include your own voice in addition to the iPhone's in the movie, tap the round Microphone On/Off button at the screen's bottom.
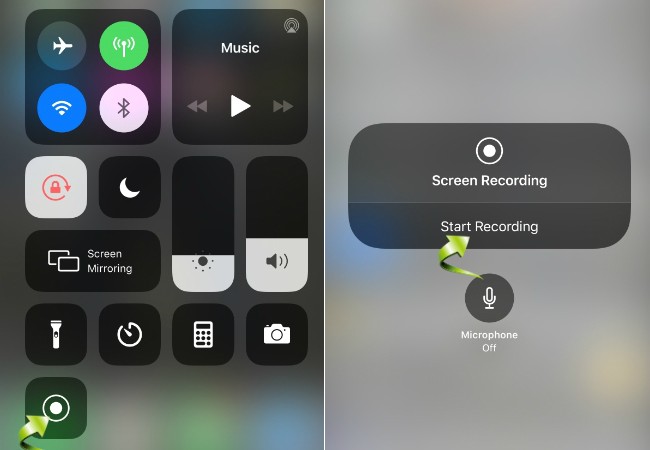
Choose what happens with your video using the panel in the centre. By default, it will be stored in Photos, but by selecting the appropriate choice from the list, you can share it on Facebook, Instagram, Discord, Telegram, or any other supported app.
When you're ready to begin recording or broadcasting, select the corresponding button at the panel's bottom. The panel will count down from 3 seconds at the top, so you may use that time to get to the screen you want to record from.
There will be a red bar at the top of your screen to indicate that recording is in progress. On newer iPhones, it is discretely displayed in the top left corner, close to the time.
iPhone screen recording: how to stop
On an iPhone, there are two options to cancel a recording. The first is to launch Control Center once more and press the (now red) Screen Recording button to immediately halt recording.
The second choice is to tap the red bar or clock in the upper-right corner of the display.
The confirmation window will then appear; tap Stop to dismiss it.
Your video's fate is communicated in a message at the top of the screen; in my case, it was saved to Photos.
To view your video clip, open the Photos app by tapping the message that was shown in the previous image. When you launch the Photos app, look in the Library folder or the Recents folder under Albums to find your video.
SEE ALSO : how to edit pdf file
Is there a reason you needed to record the screen of your iPhone?
You can now record your iPhone's screen, configure it, and use it to create videos about anything you like. We're curious as to why you needed to use this functionality, so please let us know before you exit this guide. To what end, if any, did you go? How did you find the iPhone's ability to record your screen? Post your response in the comments area.